Fun and Easy Pumpkin Carving Ideas for Beginners
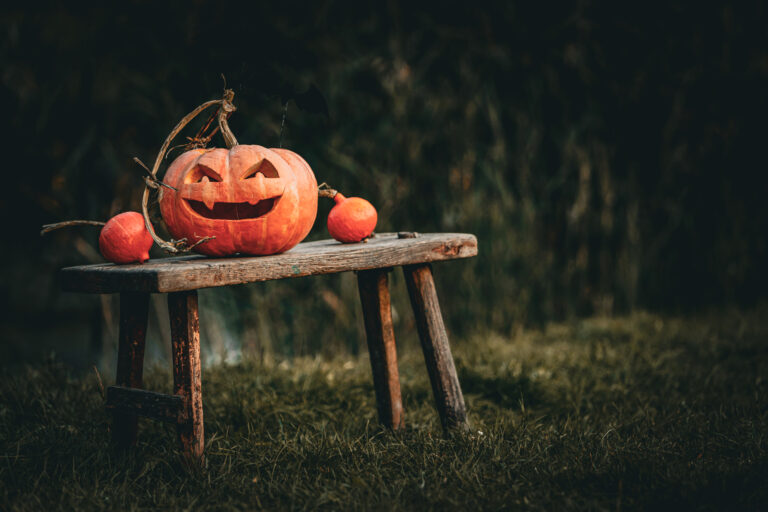
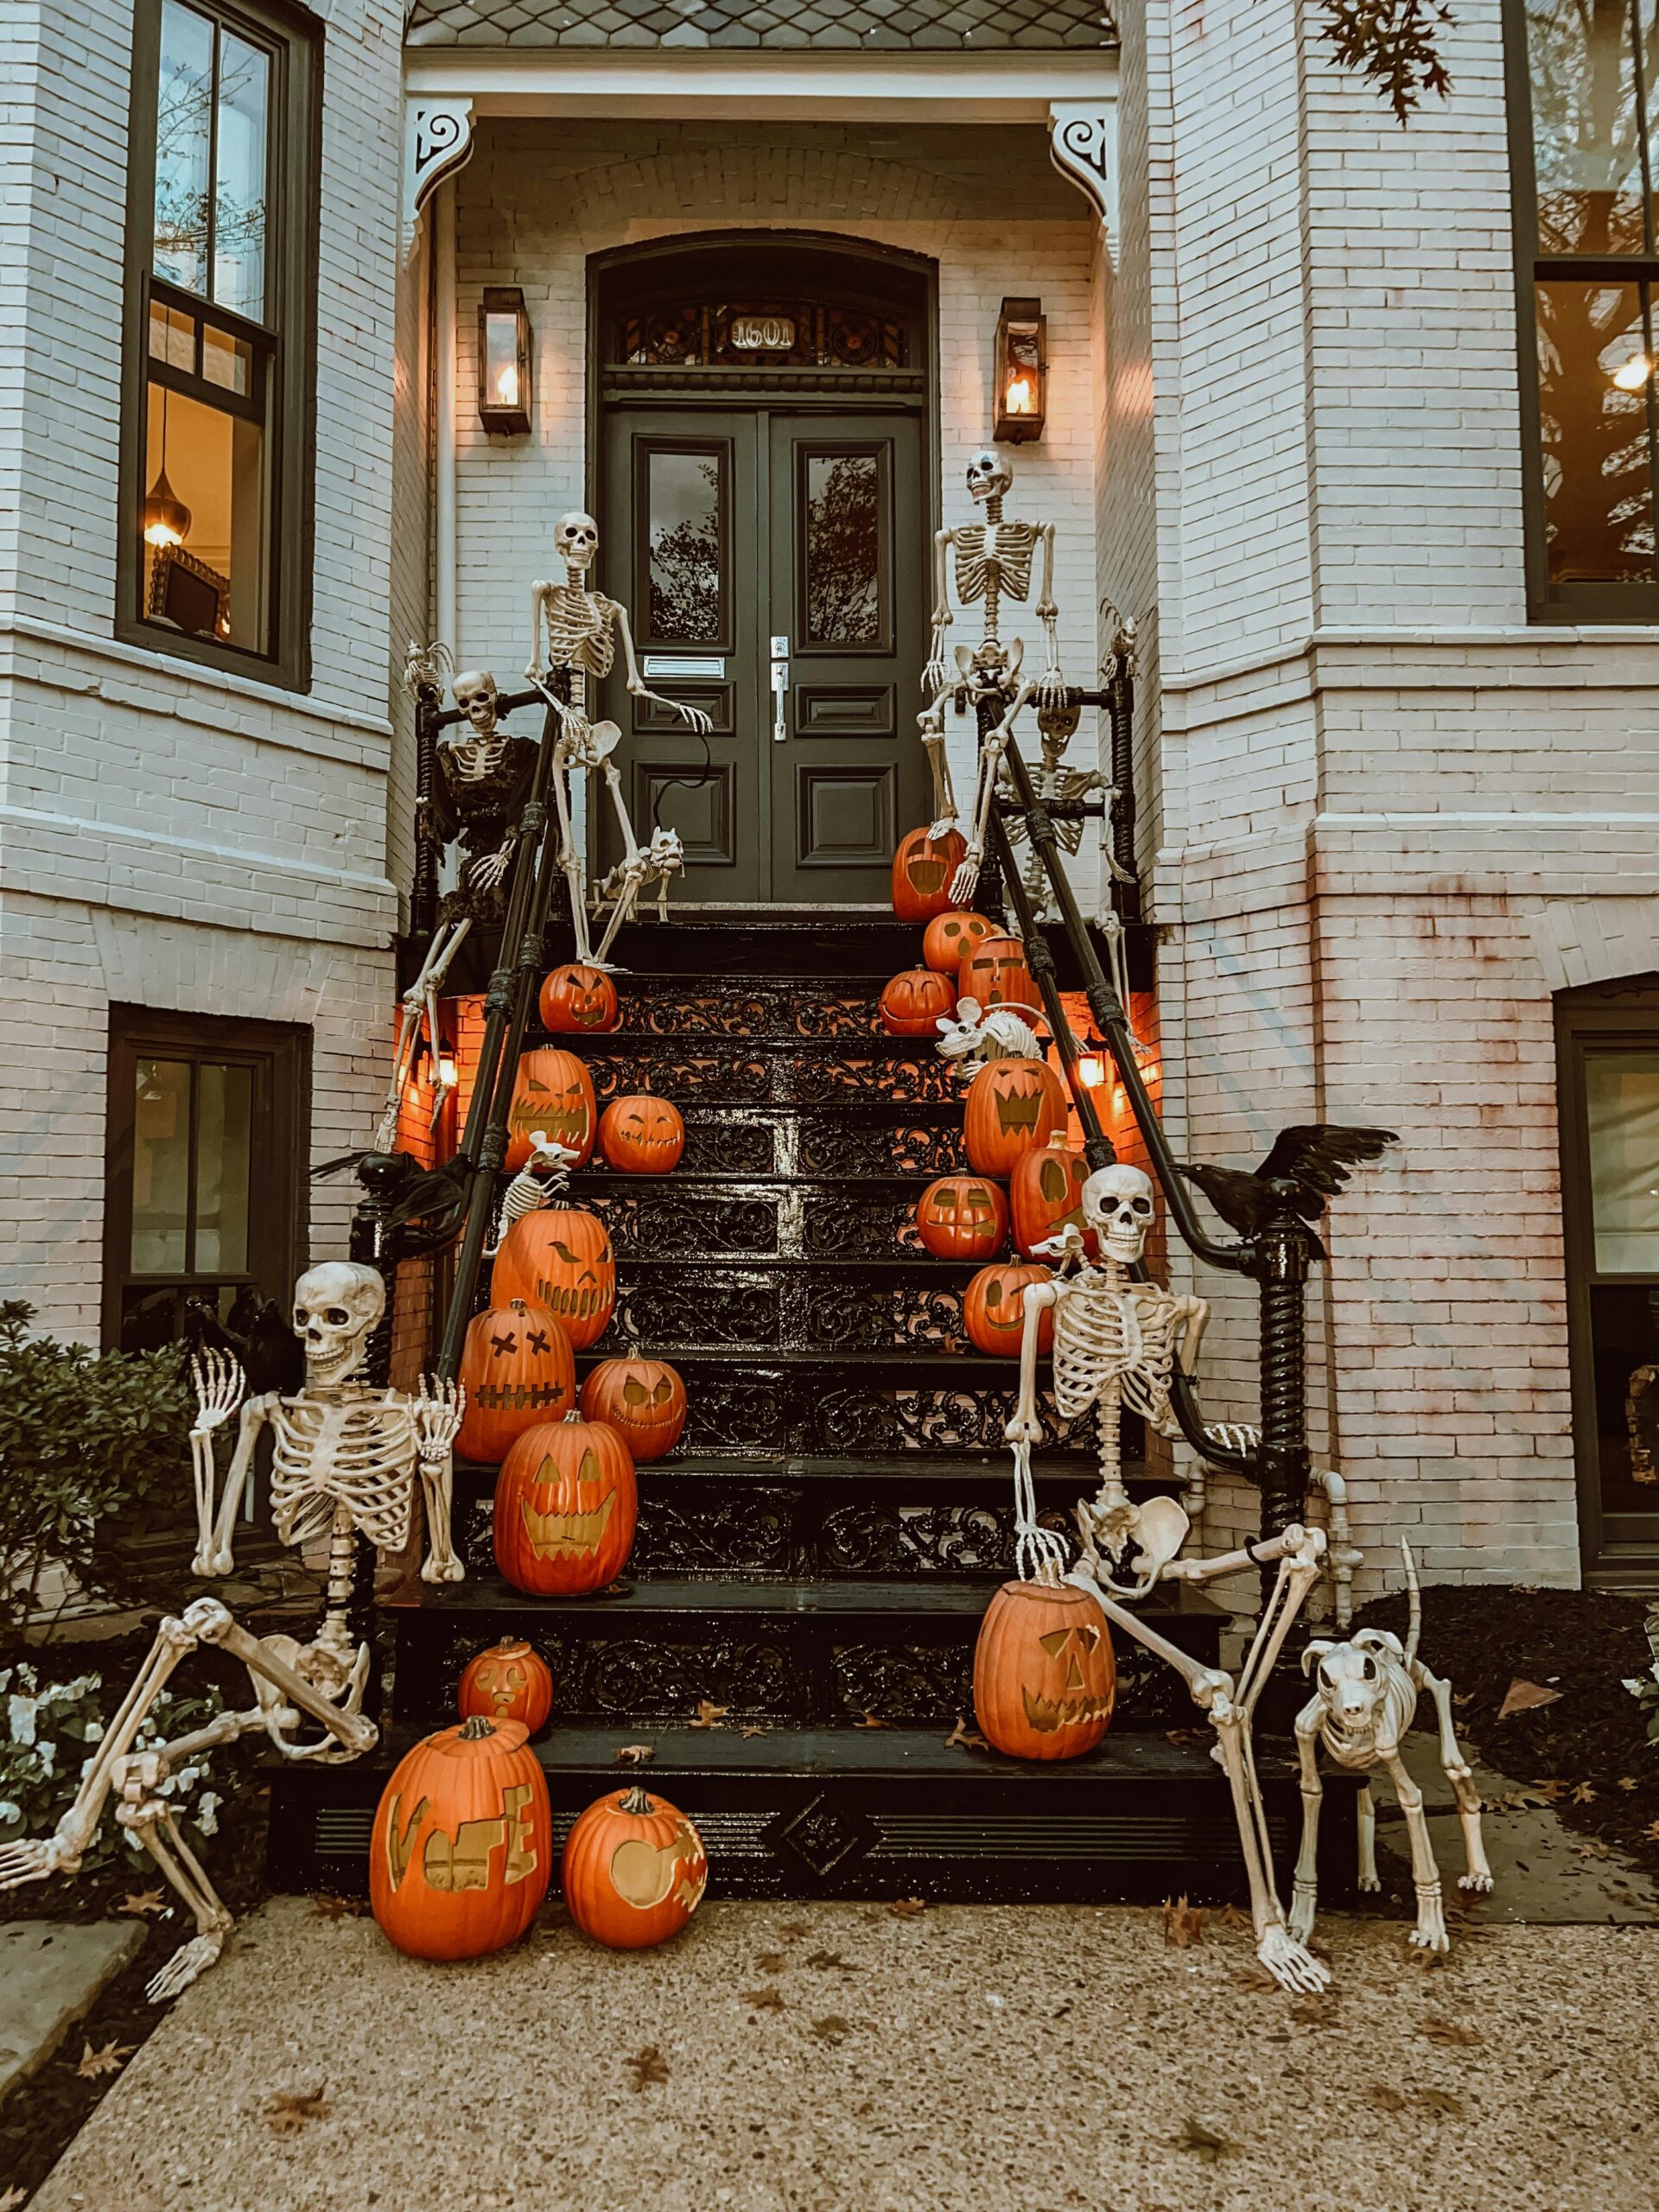
Halloween is almost here, and nothing captures the spooky spirit of the season better than carving pumpkins. Today I’ll show you fun and easy pumpkin carving ideas perfect for beginners. Whether you’re a Halloween enthusiast looking to decorate your home or just want to enjoy a family activity, pumpkin carving is an essential tradition that’s fun for everyone. But if you’re new to carving or want to make the process safer and simpler, you’re in the right place.
In this guide, I’ll walk you through safe, easy pumpkin carving ideas perfect for beginners. You’ll be able to enjoy the process while creating the perfect pumpkins for Halloween.Plus, I’ll share some pro tips to make the process smoother and have your pumpkins last longer. Ready to have fun and get carving? Let’s get to it!
Essential Pumpkin Carving Tools for Beginners
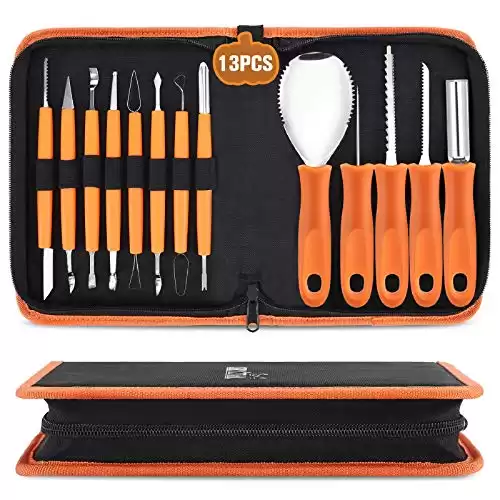
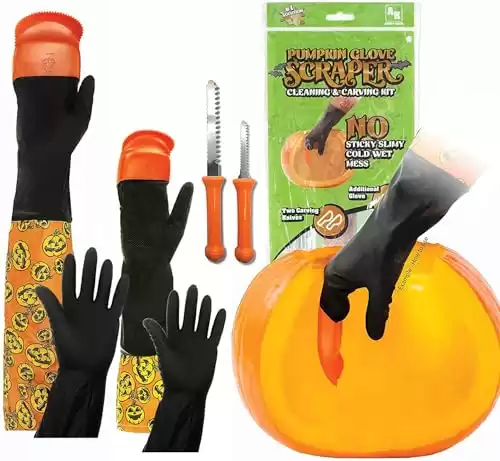
Before diving into the fun of pumpkin carving, it’s crucial to have the right tools. Carving pumpkins requires sharp instruments, but that doesn’t mean it has to be dangerous! Here are some beginner-friendly, safe tools to help you get started. I recommend the tool kit shown below. These tools are made from stainless steel, they’re comfortable and will allow for easier and quicker cuts no matter how intricate they are.
*Some of the links in this post are affiliate links, which means I may earn a commission if you make a purchase through those links at no extra cost to you. I only recommend products I genuinely believe will add value to my readers. Thank you so much for your support! *
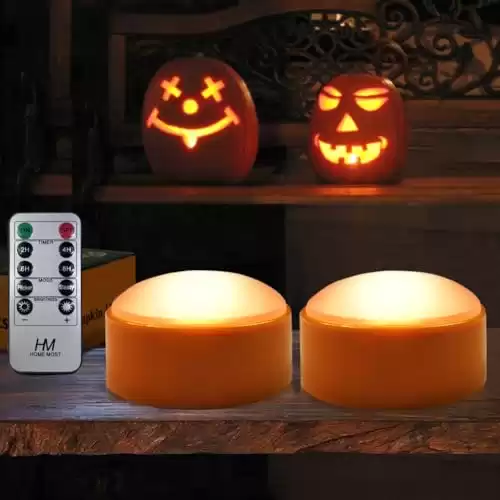
Instead of traditional candles I highly recommend switching to battery operated instead. They last longer and are a safer option for outdoor displays. These Halloween LED lights are the perfect swap. They flicker just like a real candle; are battery operated and remote controlled with different timer functions.
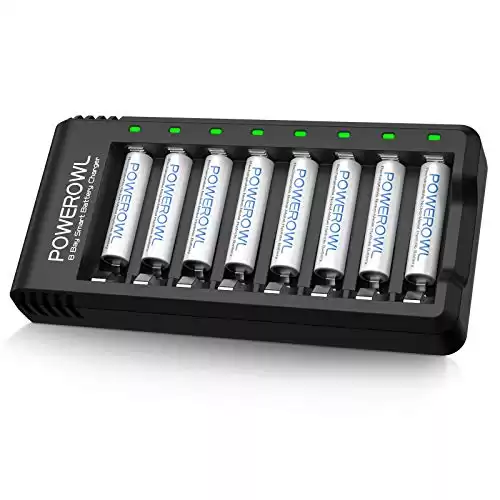
If you don’t want to worry about dead batteries and endless trips to the store, I recommend pairing your LED lights with these AAA rechargeable batteries with charger included. These will pair perfectly with your LED pumpkin lights. Plus, you’ll save money in the long run!
Now let’s dive in!
Pick the perfect pumpkin
Choose a pumpkin that is firm and free from soft spots. A medium to large pumpkin is ideal for carving since it gives you enough surface area to work with.
Hollow Out the Pumpkin
Cut a hole around the pumpkin’s stem using a knife from your pumpkin carving kit or a specialized pumpkin carving saw. It’s important to remember to angle your cut slightly so the top doesn’t fall into the pumpkin when you place it back on.
Next use a large spoon or scooping tool to remove the seeds and stringy insides. If you want to make carving easier and prevent your pumpkin from rotting too quickly, then scrape the inner walls of the pumpkin until they are about 1 inch thick.
Plan Your Design
For beginners, simple designs are best. You can print out templates, create your own, or purchase pre-made ones like these. Or you can try any of these beginner friendly designs:
Classic Jack-o’-Lantern
It’s as simple as drawing two triangles for the eyes, a triangle for the nose, and a wide, toothy grin. This classic design is timeless and always a hit during Halloween.
Silhouette Carvings
Tape the stencil to your pumpkin and trace around it. Carefully carve out the design, when your pumpkin is lit up it creates a shadowy silhouette.
Funny Faces
Get creative by giving your pumpkin a funny expression. Try making exaggerated eyes, a lopsided smile, or even a goofy mustache.
Starry Night
Instead of a traditional face, feel free to carve out stars, moons, and other celestial shapes. When lit, your pumpkin will give off a beautiful, starry glow!
Carve your pumpkin
Use a marker to draw your design on the pumpkin and carve along the lines. It’s best to use small controlled movements for safer and more precise cuts. For stencils, I recommend you tape it to the pumpkin first, then trace over it with a pointed tool before carving.
Light It Up
Place your battery-operated candle inside your pumpkin and illuminate your masterpiece! If you prefer a more traditional approach, you can use a tea light candle, but always follow safety precautions, like never leaving a lit pumpkin unattended.
Pumpkin Preservation Tips: How to Make Your Pumpkin Last Longer
After you’ve created your masterpiece, you’ll want it to last as long as possible. Here are some tips to preserve your pumpkin throughout the entire Halloween season:
Clean Your Pumpkin Thoroughly
If you really want your pumpkin to last, when hollowing out your pumpkin, make sure to remove ALL the pulp and seeds. The cleaner your pumpkin, the longer it will last.
Use a Pumpkin Preservative
Rubbing petroleum jelly or vegetable oil on the carved edges of your pumpkin will help seal in moisture and slow down the drying process. Best of all you probably already have these items at home!
Keep Your Pumpkin Cool
Aim at displaying your pumpkin in a cool, shaded area. I know this can be difficult if you live in an area where it’s hot almost all year round (like us) but try your best to do so. Pumpkins decay faster in direct sunlight or warm environments.
Pumpkin carving is one of the most exciting Halloween traditions, and with these fun and easy ideas, even beginners can dive right in. Remember to always prioritize safety and use simple techniques. Anyone can create beautiful pumpkins that add a festive touch to your Halloween décor. Don’t forget to have fun and let your creativity flow, and most importantly enjoy the process!
If you try any of these ideas, I’d love to see your creations! Share your pumpkin designs in the comments below or tag me on my social media. Enjoy a happy and safe Halloween!
FAQ Section
How long does a carved pumpkin last?
This can vary, but carved pumpkins typically last 5-10 days, depending on the environment. To extend their life, keep them in a cool shaded area away from direct sunlight.
What’s the safest way to light a carved pumpkin?
As I mentioned at the beginning of the post, battery-operated candles are the safest option. They provide the same benefits without the fire hazard of real candles.
How can I store my pumpkin carving tools?
To have your pumpkin tools last as long as possible, always clean and dry your tools after use. Store them in a cool, dry place to prevent rust. If you purchase the pumpkin carving kit I recommend, it comes with a storage case for easy organization.
If you follow these tips, you can ensure a safe, fun, and successful pumpkin carving experience that the whole family can enjoy! Happy carving!!
*As an Amazon Associate, I earn from qualifying purchases*

